Why not share this article with your friends? 😉
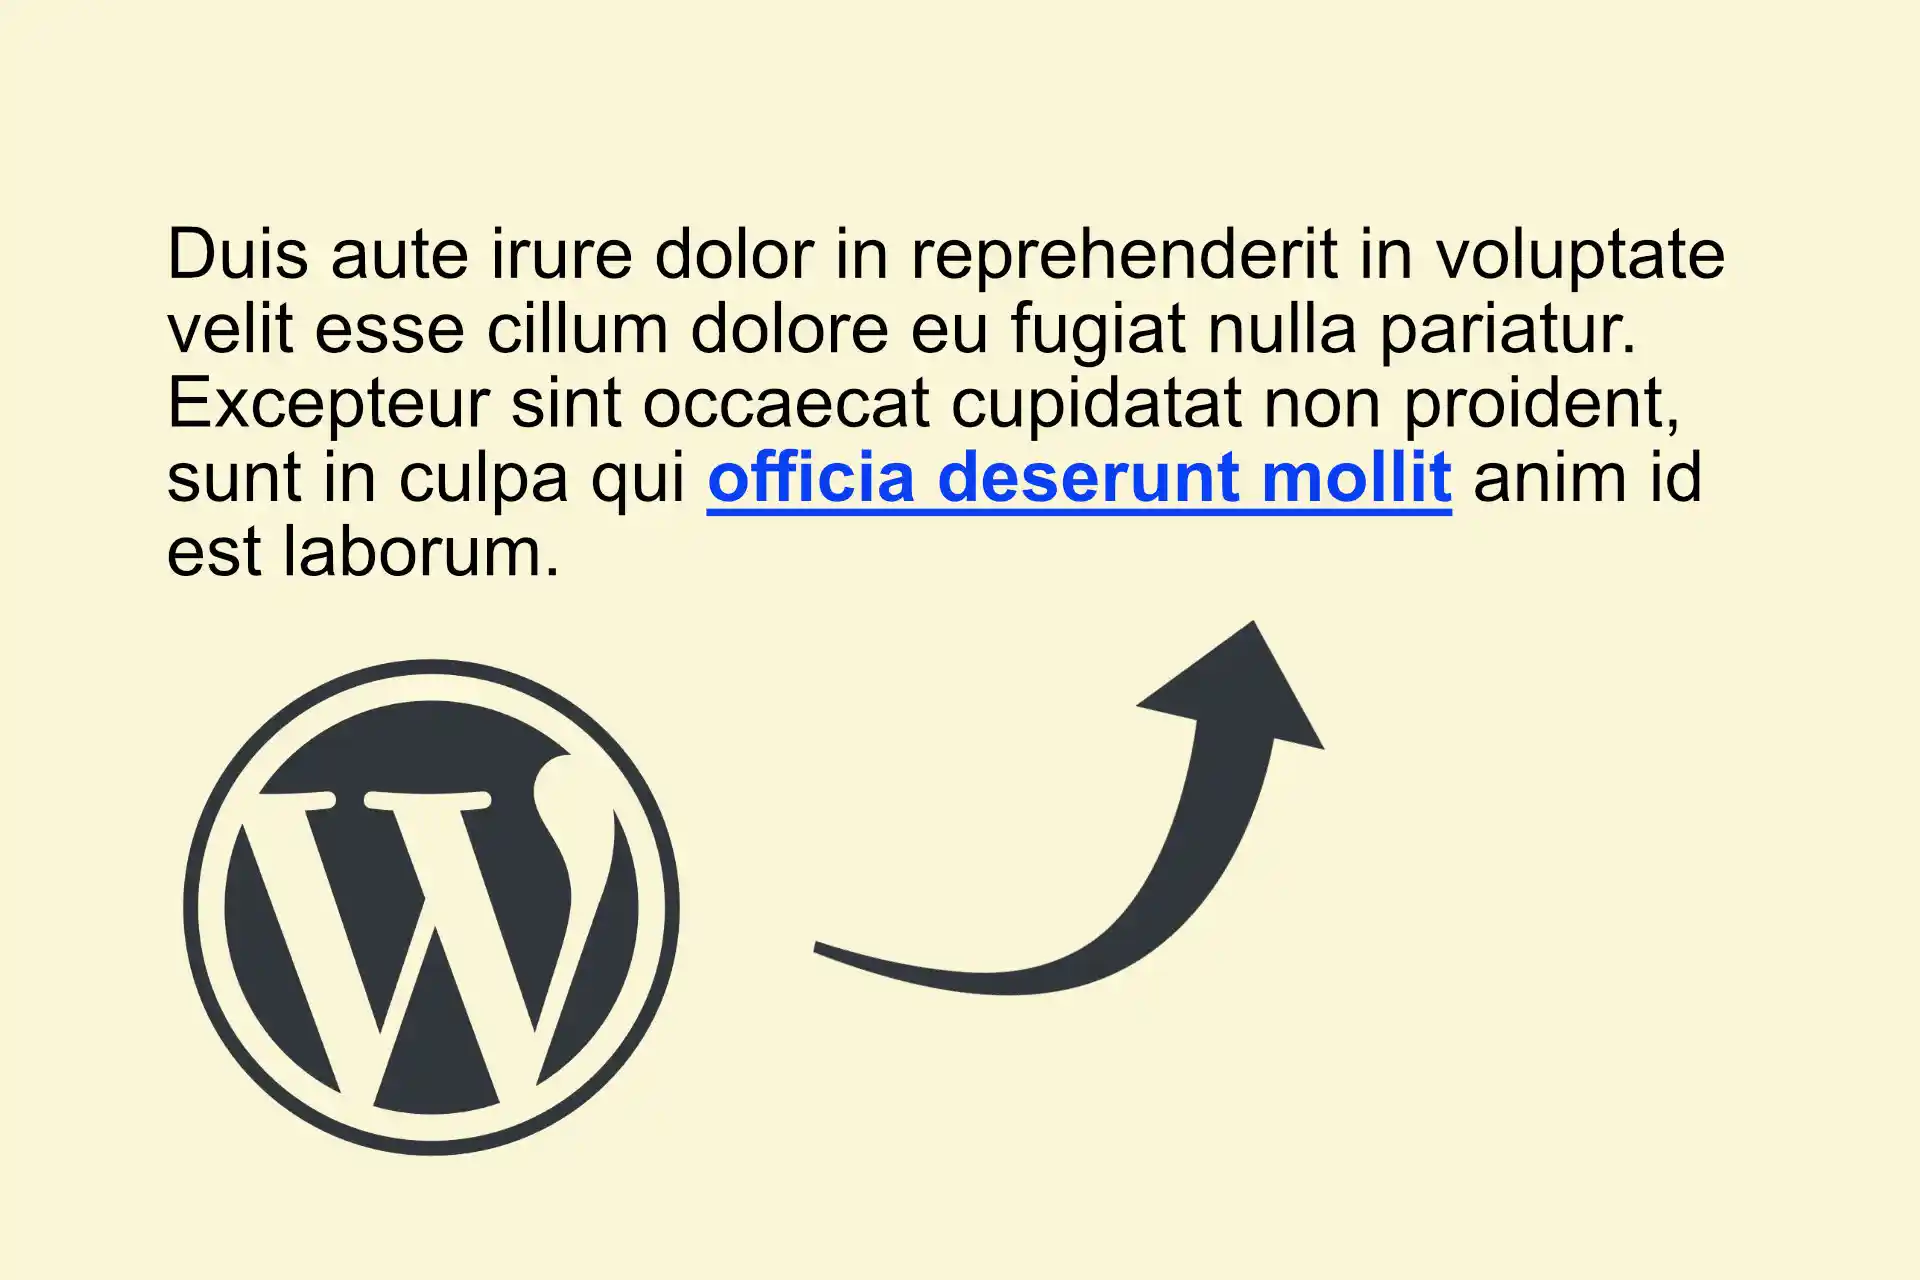
In this WordPress tutorial you will learn the process of adding hyperlinks. From making text clickable to adding links to columns. We will also cover common issues and provide solutions for fixing broken hyperlinks.
By adding clickable links to your content, you can connect pages, direct visitors to external resources, and create a seamless browsing experience. So let’s dive in!
Adding clickable links to your WordPress content is a simple process that allows you to direct your readers to relevant pages, external resources, or other parts of your website. Here’s a step-by-step guide to making text a clickable link in WordPress:
Login to your WordPress dashboard.
Navigate to the post or page where you want to insert the hyperlink, or create a new one.
In the editor, highlight the text you want to turn into a clickable link. This text is often called anchor text.
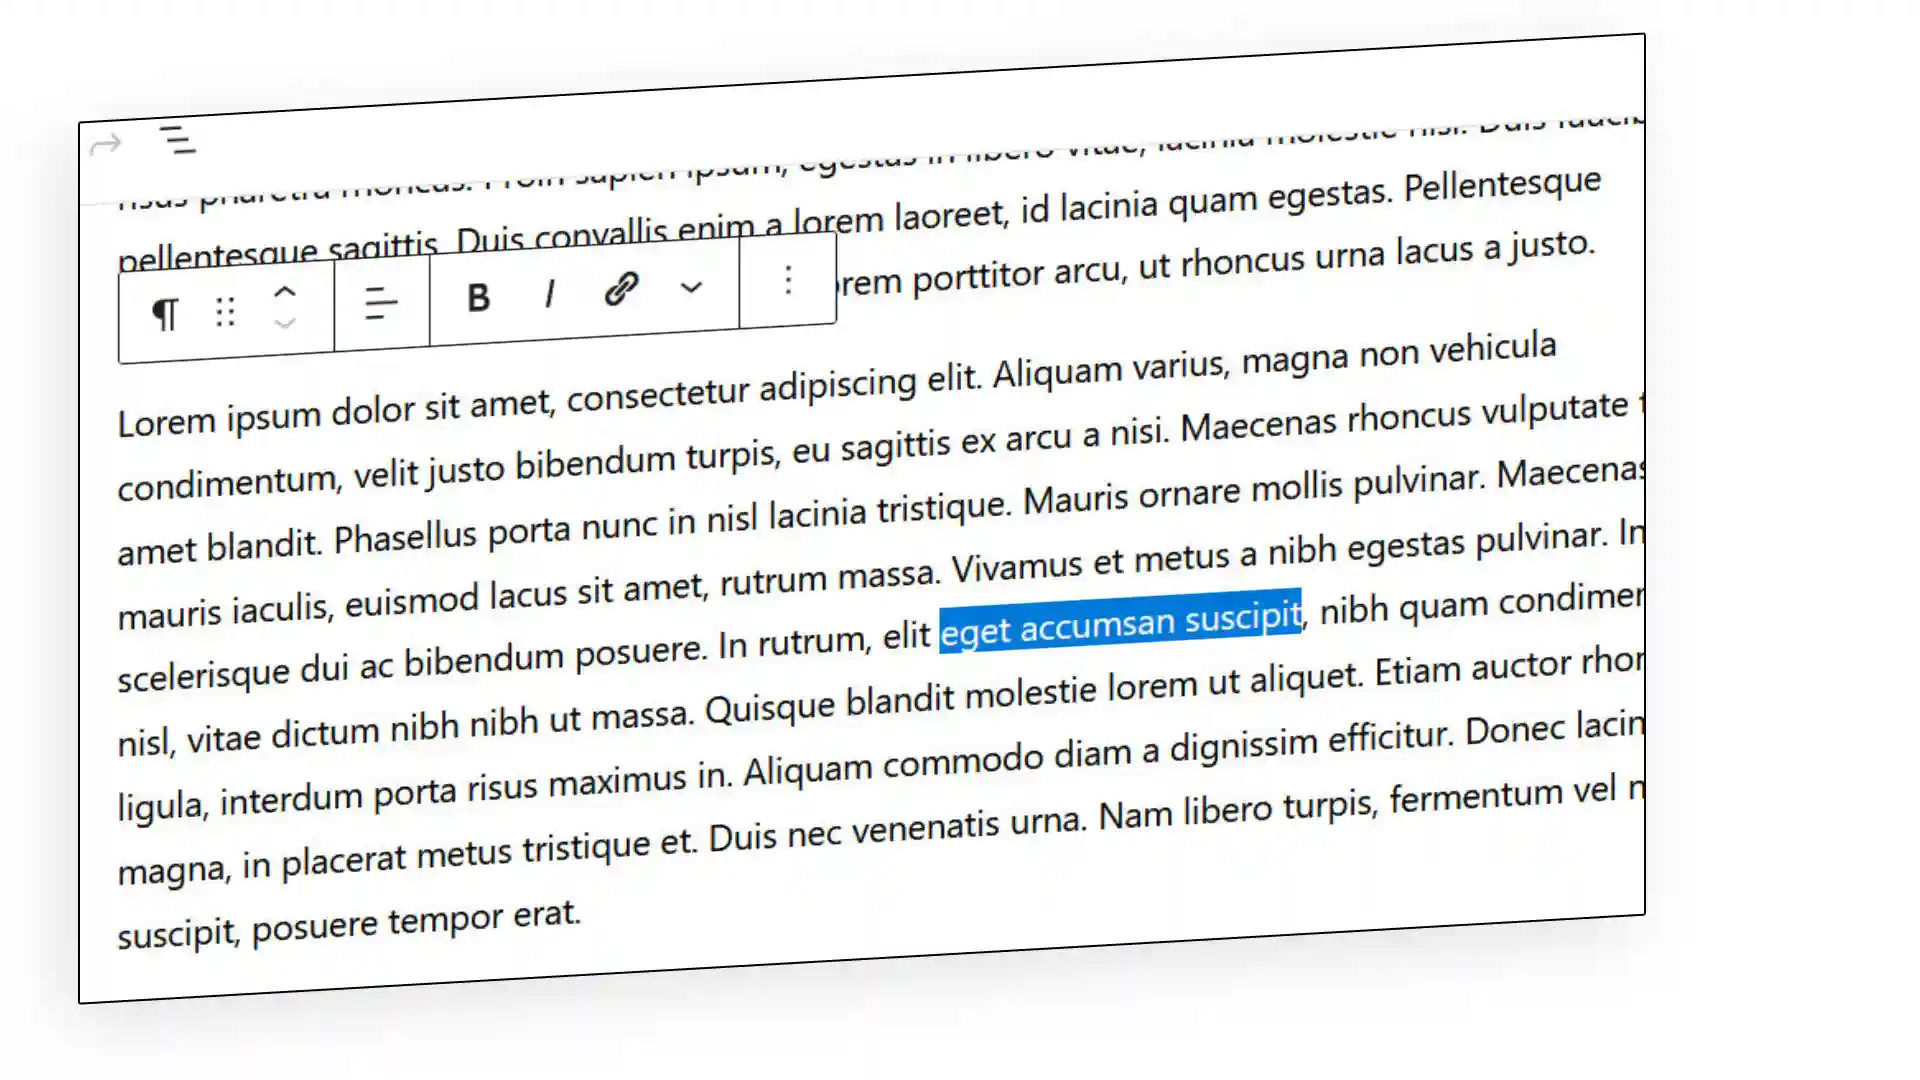
Look for the “Insert/edit link” button in the toolbar above the editor (usually represented by a chain link icon). Click it. Alternatively, you can right-click on the selected text and select ‘Insert/edit link’ from the context menu.
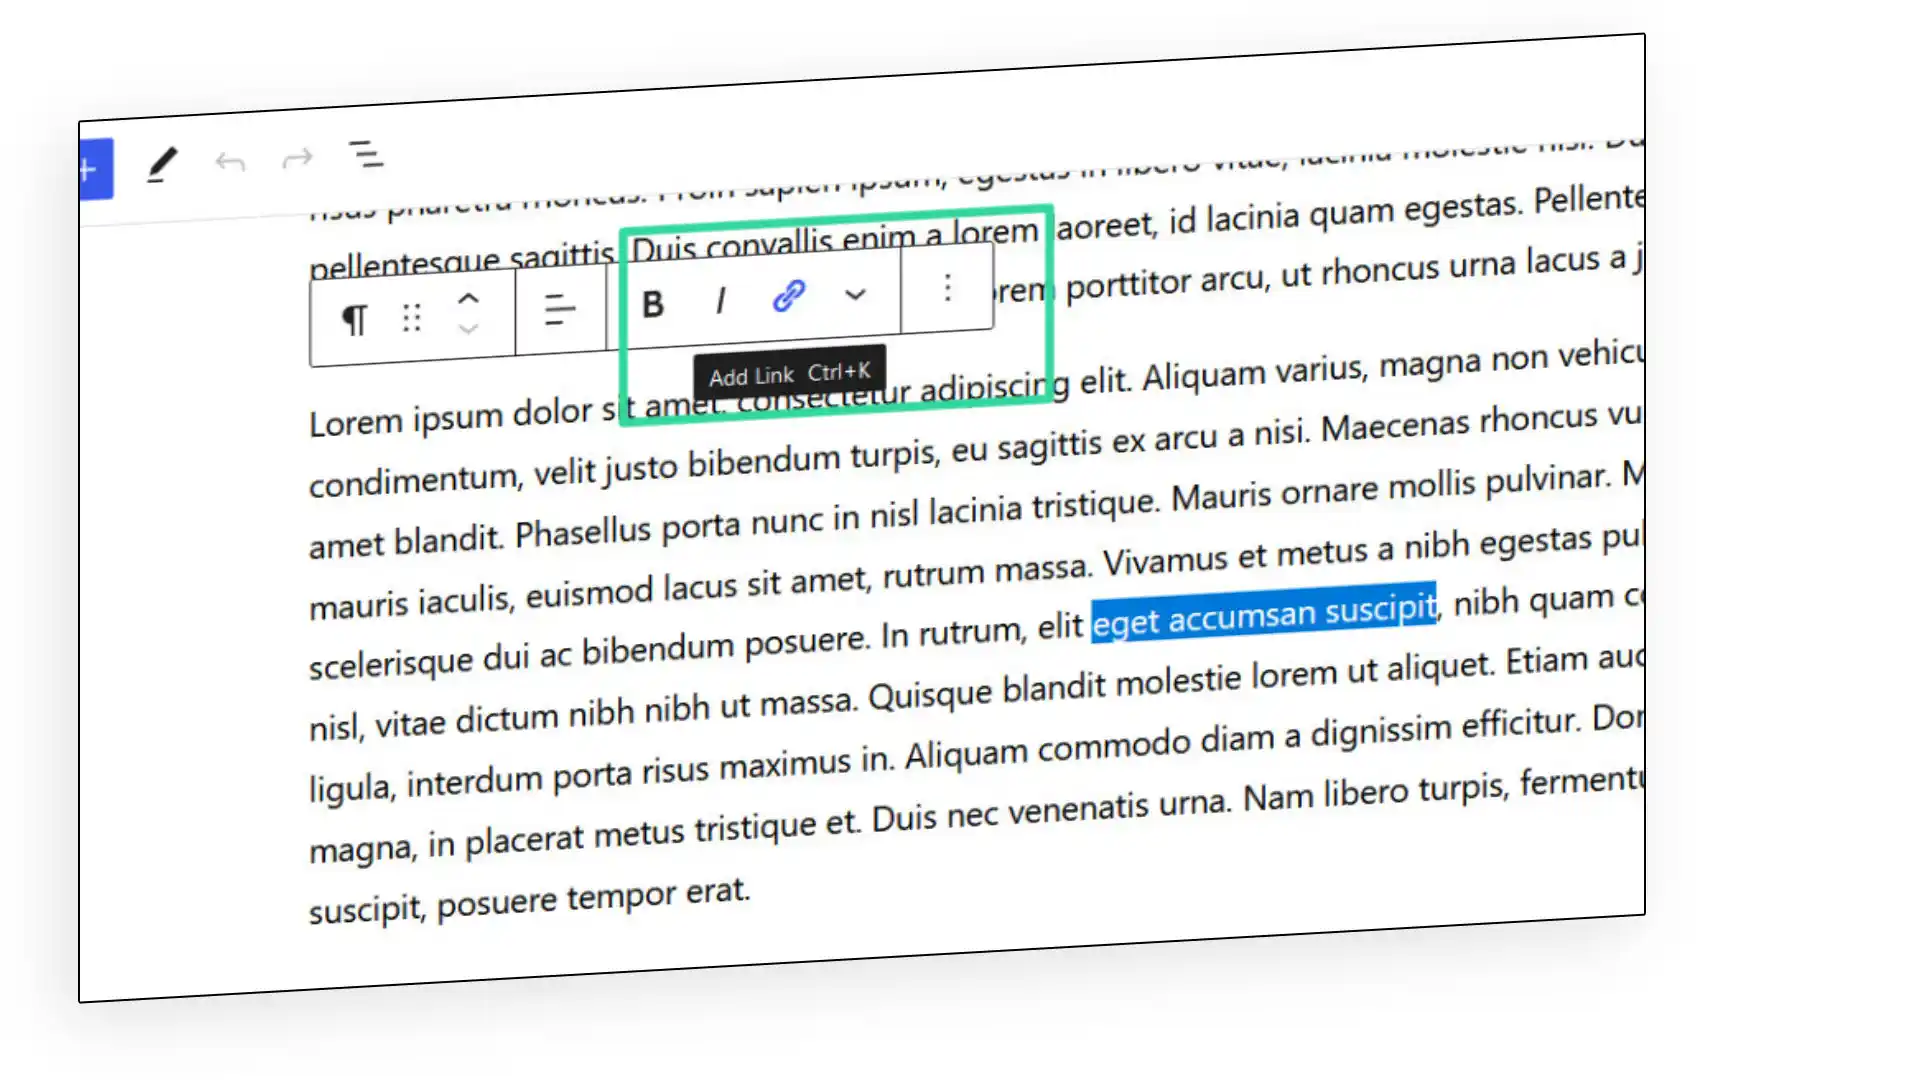
A pop-up window will appear allowing you to enter the URL (web address) to which the hyperlink should point. Type or paste the URL into the field provided.
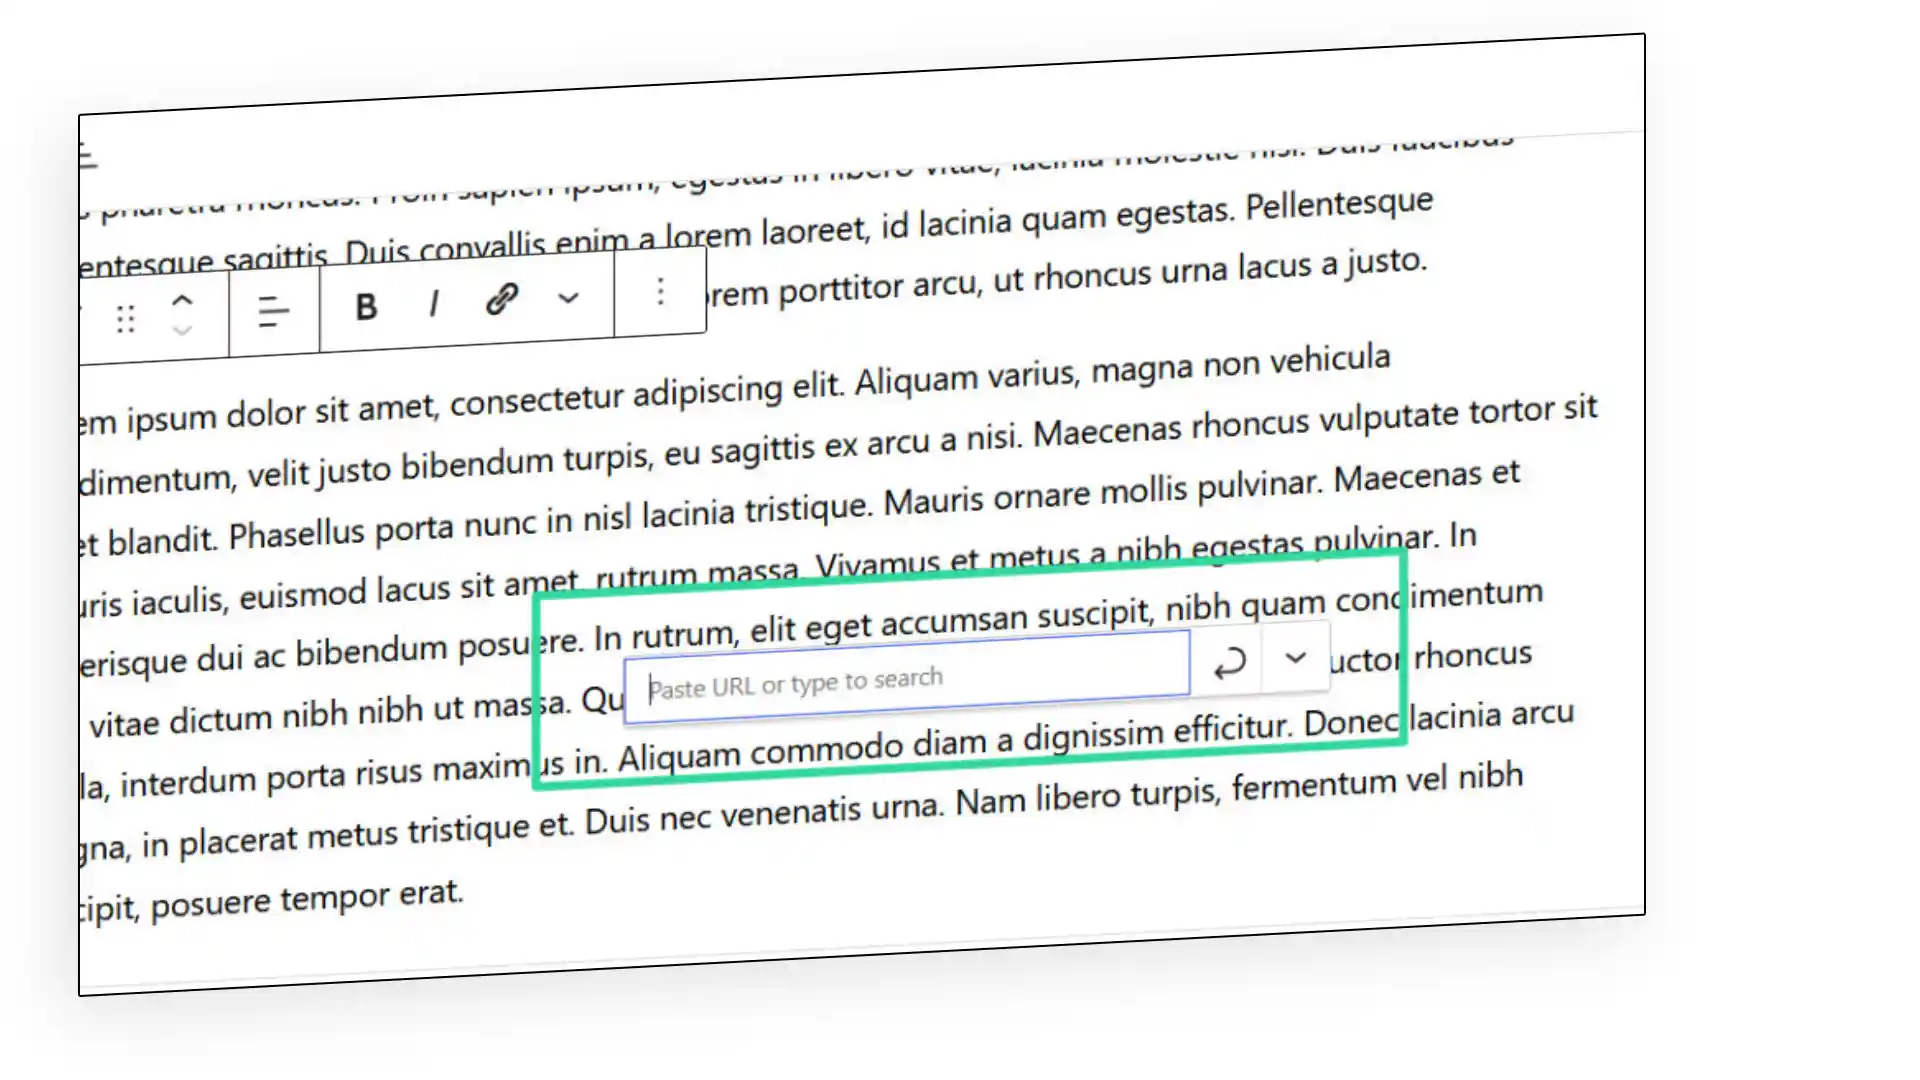
Optionally, you can enter a title for the link in the Title field. This text will appear as a tooltip when someone hovers over the hyperlink.
Click the ‘Apply’ or ‘Insert’ button to create the link.
By following these steps, you can add multiple hyperlinks throughout your content to improve navigation and provide additional information to your readers.
Remember, it’s good practice to ensure that the URLs you link to are accurate and relevant. It’s also a good idea to set external links to open in a new tab, which you can do by selecting the “Open link in new tab” option in the link pop-up window.
Columns are a powerful tool in WordPress that allow you to create visually appealing layouts and organise your content in a structured way. Adding hyperlinks within columns can help direct visitors to specific sections, pages, or external resources. Here’s a step-by-step guide to adding a link to a column in WordPress:
Repeat these steps for any other columns or sections you want to add links to. Preview your post or page to see the links within the columns.
By using column blocks in WordPress, you can create visually appealing layouts while providing additional context or navigation options through hyperlinks.
In WordPress, hyperlinks are typically designed to appear in the default colour blue to indicate their clickable nature. However, you may encounter situations where hyperlinks do not appear in the expected blue colour. Here are a few reasons why hyperlinks may not turn blue in WordPress.
Some WordPress themes offer customisation options that allow you to change the appearance of hyperlinks, including their colour. If you or your theme developer have changed the default hyperlink colour, it may not be blue.
Check your WordPress theme’s customisation options to see if there are settings available to change hyperlink colours. Look for options related to typography, colours or link styles. Adjust the settings to set the hyperlink colour to blue or your preferred colour.
If you’ve added custom CSS code to your WordPress theme, or used a plugin to apply custom styles, it’s possible that the hyperlink colour has been explicitly changed in the CSS code.
If you have added custom CSS code to your theme or used a custom styling plugin, review the code to find any specific styles applied to hyperlinks. Modify the CSS to set the hyperlink colour to the desired blue, or remove any conflicting styles.
Conflicts between different plugins can sometimes affect the styling of hyperlinks. If you have recently installed or enabled a new plugin, it may override the default hyperlink styles.
If you suspect that a plugin is causing conflicts with hyperlink styles, try disabling plugins one at a time to identify the culprit. Once you have identified the conflicting plugin, check to see if there are any settings within that plugin that control hyperlink colours. Change the settings accordingly.
While hyperlinks in WordPress are designed to be clickable by default, you may encounter situations where links aren’t clickable or don’t work as expected. Here are some common reasons why links in WordPress may not be clickable.
Improper HTML markup can lead to non-clickable links. Ensure that your anchor tags <a> are properly formed with the necessary opening and closing tags, and that the href attribute contains a valid URL.
Conflicts between plugins or themes can affect the functionality of links. Incompatible code or JavaScript conflicts can prevent links from being clickable.
To resolve the problem, you can temporarily disable your plugins one at a time to see if any of them are causing conflicts. Test the links after disabling each plugin to identify the one that is causing the problem. Once identified, you can either look for alternative plugins or contact the plugin developer for assistance.
If this doesn’t help, temporarily switch to a default WordPress theme to see if the problem persists. If the links become clickable with the default theme, this indicates a compatibility issue with your current theme. Contact the theme developer for assistance, or consider using a different theme that supports the desired functionality.
CSS styles applied to your links or surrounding elements can unintentionally affect their clickability.
Use browser developer tools to inspect the CSS styles applied to your links and surrounding elements. Look for any conflicting styles, overlapping elements, or z-index issues that may prevent links from being clickable. Adjust the CSS rules accordingly to resolve the issue.
Broken hyperlinks can negatively impact the user experience and your website’s SEO. It’s important to regularly check for and fix broken links to ensure a smooth browsing experience for your visitors. Here’s a step-by-step guide to fixing broken links in WordPress.
Use a link checking tool or WordPress plugin to check your website for broken links. These tools will provide a list of URLs that return errors or lead to non-existent pages.
Once you have the list of broken links, there are a few approaches you can take to fix them:
If the broken links are internal links within your own website, update the URLs to point to the correct pages. Ensure that the internal linking structure is coherent and functional.
If the broken links are to external websites, try to find alternative, up-to-date sources to link to. If there are no suitable alternatives, consider removing the broken links or replacing them with relevant content.
Once you’ve made the necessary changes, it’s important to test the fixed links to make sure they’re working correctly. Visit the relevant pages and click on the links to check that they lead to the intended destinations.
Regularly monitoring and maintaining your website’s hyperlinks will improve the user experience, improve SEO and maintain the integrity of your content.
Whether you’re directing visitors to other pages within your site, external resources, or simply adding references, the ability to insert hyperlinks allows you to create a more engaging and connected web presence.
Regularly checking and maintaining your hyperlinks is critical to maintaining the integrity of your website. Broken links can negatively impact the user experience and your search engine rankings.
By staying vigilant and fixing broken hyperlinks promptly, you will contribute to a more user-friendly and SEO-optimised website.

30 day money back guarantee